- Engagement Rings
- Wedding Bands
Shop by style
- Classic
- Diamond Cut
- Two Colour
- Diamond Set
- Shaped
- Vintage
- Gemstone Bands
Shop by metal
- Gemstones
- Fine Jewellery
Fine Jewellery
- About Us
- Education
22 August 2026
How to Read a Jewellery CAD Before You Approve Your Ring
Jewellery CAD approval is not a test of whether you like a glossy picture. It is the moment to confirm scale, structure and relationships before precious-metal production begins. A beautiful render can still hide a band that feels too wide or a setting that sits higher than expected.
Read the CAD in layers. Start with the overall silhouette, then check dimensions, side profile, stone security and wedding-band fit. Ask questions wherever the image cannot answer confidently.
What a Jewellery CAD Actually Represents
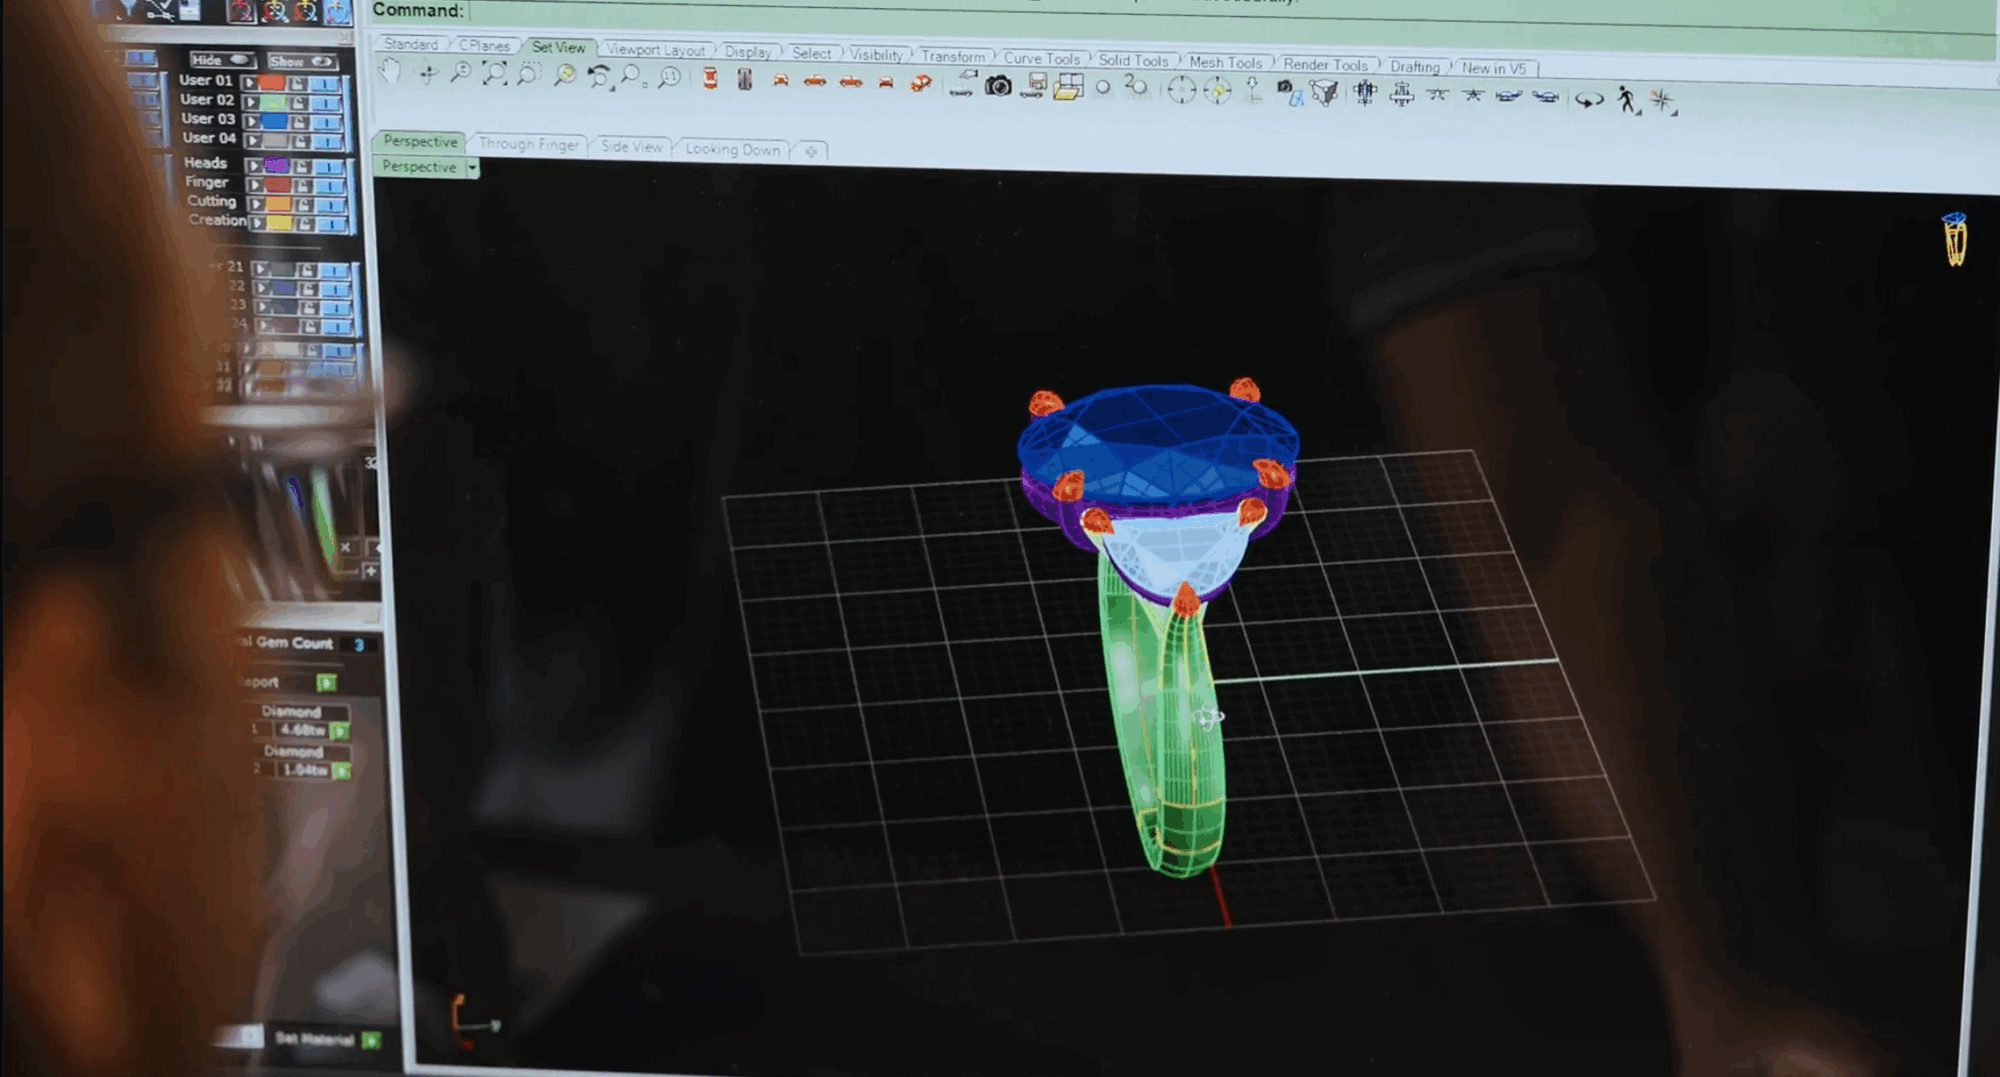
Computer-aided design creates a measurable three-dimensional model. The designer uses it to define the ring’s geometry and prepare a model for manufacture. It can show the piece from angles that a hand sketch cannot hold consistently.
GIA’s jewellery design programme describes CAD through scale, proportion, element relationships and manufacturing constraints. That is the right mindset: the render is an engineering document with a visual surface, not a photograph of the future ring.
Confirm the Centre Stone Data First
Ask whether the model uses the exact length, width and depth of your chosen centre stone. A generic oval or cushion can distort claw position, halo spacing and finished height.
Compare the report measurements with the design brief. If the stone changed after the first CAD, confirm that the setting changed too. Our diamond-ratio guide explains why outline and millimetres matter beyond carat.
Read the Top View for Balance
The top view reveals the relationship between centre, side stones and band. Check whether the shoulders taper smoothly and whether a halo follows the diamond evenly. Look for unwanted bulk around pointed or elongated shapes.
Do not judge apparent diamond size from screen zoom. Use the supplied millimetres or ask for a life-size print. A full-screen ring can make tiny differences feel dramatic.
Read the Side View for Height
The side profile often determines daily comfort. Ask for the height from finger rail to the top of the centre stone. Then compare it with rings you have tried on.
A higher gallery can create space for a straight wedding band, but it may catch more easily. A low setting can feel secure, yet it may require a shaped band. The engagement-ring settings guide shows how profile changes function.
Check Band Width and Depth Separately
Width describes the band across the finger. Depth or thickness describes the metal between the inside and outside surfaces. A band can look delicate from above while retaining useful depth.
Ask for dimensions at the base, shoulders and narrowest point. Excessive taper can weaken an area that already carries stress. Conversely, a uniformly heavy band may overwhelm a small centre.
Understand Why CAD Claws Look Heavy
Claws often appear longer and thicker in the model because the setter needs material to cut and finish around the stone. The final claws may be refined during setting. Ask which parts are intentionally oversized for manufacture.
However, do not dismiss every concern as a rendering issue. Confirm the intended number, position and finished style of the claws. Pear and marquise points need purposeful protection.
Inspect the Gallery and Stone Seats
The gallery supports the centre and controls the side profile. Check how it meets the shoulders and whether open areas remain practical. Very fine wires may look elegant but need sufficient strength.
You may not see the final bearing cut into each claw because the setter creates it for the real stone. Ask the designer to explain where the girdle will sit and how the pavilion clears the metal.
Review Every Small Stone
CAD may show idealised diamond shapes rather than every facet. Count the halo, shoulder or hidden-halo stones and check their layout. Look for awkward gaps where curves change direction.
Also confirm which stones are included in the quotation. A render full of white circles is not a complete melee specification.
Test the Wedding-Band Relationship
Ask for the engagement ring beside a simple wedding-band model. The pair should show whether the band sits flush, touches a fragile area or leaves an intentional gap.
If you prefer a diamond band, allow for its setting height as well. Kinzy’s wedding-band guide explains why the future ring belongs in today’s CAD review.
Look at the Inside of the Shank
The inner profile affects comfort and engraving space. A comfort-fit interior has a gentle curve, while a flatter interior may feel different at the same nominal size.
Check where hallmarks and engraving will sit. If a hidden gemstone or personal message is planned, it should not conflict with sizing or structural areas.
Ask Which Details Are Visual Artefacts of the Render
Digital metal can appear mirror-perfect. Diamonds may glow without real lighting, and tiny gaps may look dark because of the software. Surface colour also varies between screens.
GIA’s overview of technology in jewellery design explains how CAD models move into printed prototypes and manufacture. Use the render for form, not as a promise of photographic light.
Compare the CAD with the Written Brief
Return to the agreed words. If the brief says low-set, tapered shoulders and a straight wedding-band fit, identify where each promise appears. Do not rely on memory or visual impression alone.
Kinzy’s design process uses CAD as one approval stage within a longer journey. The written specification remains the anchor.
Give Consolidated, Measurable Feedback
Group comments by view. Instead of saying “make it more delicate”, ask whether the shoulder can narrow by a defined amount while preserving strength. If you dislike the height, ask for the current measurement and a lower alternative.
One organised response reduces contradictory changes. Marked screenshots can help, but always describe the desired result in words too.
Separate Non-Negotiables from Preferences
Label the decisions that must not change, such as centre-stone orientation, metal colour or a flush wedding-band requirement. Then identify preferences that may yield to engineering, such as an exact claw thickness seen in a magnified render.
This hierarchy helps the designer resolve conflicts without guessing. It also prevents a minor visual adjustment from accidentally changing a functional requirement.
Review the CAD at Human Scale
Ask for stated dimensions or a life-size print rather than relying on screen zoom. Compare band width with a ring you can handle and use a ruler to understand the centre stone’s face-up millimetres.
Magnification is useful for checking alignment, but it can make every claw and gap feel oversized. Move between detailed views and real scale before approving.
A Jewellery CAD Approval Checklist
- Exact centre-stone measurements and orientation.
- Face-up balance and shoulder taper.
- Total setting height from the finger.
- Band width and depth at key points.
- Number, position and intended finish of claws.
- Gallery strength and pavilion clearance.
- Small-stone count, layout and specification.
- Wedding-band fit and contact points.
- Interior profile, engraving and hallmark space.
- Final list of approved revisions.
Review the CAD With Your Personal Jeweller
A CAD is most useful when it is reviewed as part of the wider bespoke journey. Your personal jeweller can explain which details are exaggerated for production, confirm the dimensions that matter and show how the design will translate at its true scale.
At Kinzy, the CAD approval stage gives you time to refine the ring before it moves forward. Our bespoke-process reel offers a closer look at this stage, including the wax model that helps bring proportion and presence into view.
Explore the Kinzy design process or reserve a private consultation to begin your own commission.
A Setting Worth Studying
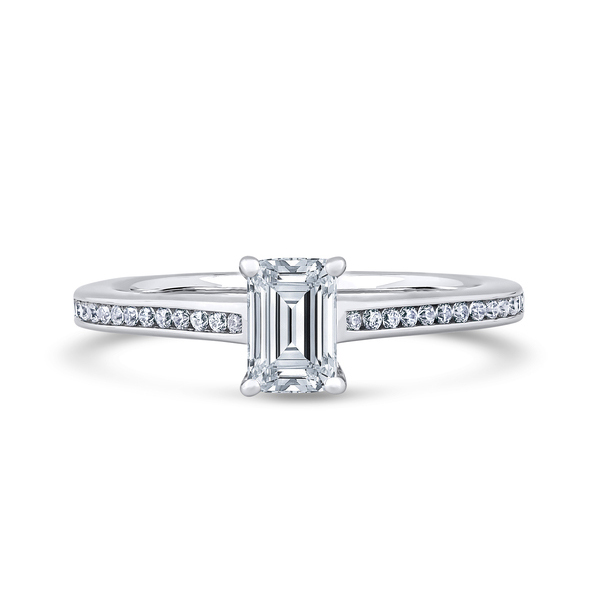
This Kinzy shoulder-set ring offers a useful example of the details to study in top, side and three-quarter views, from band proportion to the relationship between the centre stone and shoulders.
From CAD to Wax
Step inside the Kinzy bespoke process and see how a design develops from the first brief through CAD review and a tactile wax model.
Frequently Asked Questions
Will my finished ring look exactly like the CAD?
It should follow the approved geometry, but polished metal, real diamonds and hand finishing create a different visual experience from a render.
Why do the claws look so large?
CAD claws often include extra material for setting. Ask what the intended finished claw will look like instead of assuming the model is final.
Can I approve CAD without understanding dimensions?
You can, but it is unwise. Ask the designer to translate millimetres into samples, life-size views or a wax model.
Can CAD prove the ring will be comfortable?
It can show likely dimensions and profile. A physical wax or correctly sized sample gives better evidence of scale and finger feel.
What happens after approval?
The approved model moves towards wax or resin production and metal manufacture. Changes after that point may require extra work and cost.
Final Thoughts on Jewellery CAD Approval
Jewellery CAD approval should confirm proportion and construction, not reward the prettiest screen. Read every view against the stone, hand, lifestyle and wedding-band plan.
Discover the Kinzy bespoke journey or arrange a private design consultation in Hatton Garden.
PERSONAL BESPOKE GUIDANCE
Shape the next detail with your Kinzy jeweller.
A short design brief gives our Hatton Garden atelier a thoughtful starting point—whether you have a clear idea or are still comparing possibilities.
Related Reading
Articles
Other articles from Kinzy London.
Articles, Bespoke Jewellery, Engagement Rings, Gemstones
How to Add a Hidden Birthstone or Secret Diamond to an Engagement Ring
Articles, Diamond Guides, Engagement Rings, Settings
Does a Bezel Setting Make a Diamond Look Bigger or Smaller?
Articles, Craftsmanship, Engagement Rings, Settings